Variante 1 – Reset Local Account password mittels Setup-Medium
- Boot von Setup-Stick
- Shift+F10 um CMD zu öffnen
- Auf c:\windows\system32 wechseln
- ren utilman.exe utilman.exe.bak
- copy cmd.exe utilman.exe
- wpeutil reboot
- Im Anmeldebildschirm mittels „Eingabehilfe“ die CMD öffnen (Mittleres Symbol re.unten)
- net user Administrator /active:yes um Admin. zu aktivieren (falls benötigt), danach Reboot
- lusrmgr.msc
- Kennwort vom Administrator löschen
- utilman.exe löschen
- ren utilman.exe.bak utilman.exe
Detailiert:
To reset your local account password and regain access to your account after forgetting your password, you first need to create a Windows installation media (if you don’t have one handy) and then follow the instructions as outlined below.
- Boot your computer with Windows installation media.
- In the Windows Setup page, press the Shift + F10 keyboard shortcut to open Command Prompt.
- Type
C:and hit Enter to move from theX:\Sourcesfolder to the root folder of your Windows installation.
Note: If C is not the drive letter for the drive on which Windows 11/10 is installed, you can find the right drive letter by confirming the location using the dir command. If the result shows the Programs Files as well as Windows folders, then you’re in the correct location. Otherwise, type the correct drive letter.
- Next, type the command below and hit Enter to navigate to the System32 folder:
cd Windows\System32
- Now, type the commands below and hit Enter (on each line) to replace the Utility Manager button with direct access to Command Prompt from the Sign-in screen:
ren utilman.exe utilman.exe.bak
copy cmd.exe utilman.exe

- Next, type the command below and hit Enter to restart your computer normally:
wpeutil reboot
- In the Sign-in screen, click the Utility Manager (Ease of access) button (the one in the middle of three buttons) in the bottom-right corner to open Command Prompt.
- Type the command below and hit Enter to enable the built-in Administrator account:
net user Administrator /active:yes
- Next, click the Power button in the bottom-right corner and select Restart.
- In the Sign-in screen, select the Administrator account.
- Next, press Windows key + R to invoke the Run dialog.
- In the Run dialog box, type
lusrmgr.mscand hit Enter to open Local Users and Groups. - Expand the Local Users and Groups branch.
- Expand the Users branch.
- Right-click the account you want to reset the password and select the Set password option.

- Specify the new password.
- Click OK.
- Next, to sign out from the Administrator account, press Windows key + X to open Power User Menu, tap U and then I on the keyboard.
- Sign back in using the account with the new password.
- Now, shut down the Windows 11/10 PC.
Now, you should restore the utilman.exe file. If not, you won’t be able to use the Utility Manager on Windows 11/10 sign-in screen and on the other hand, others might use the command prompt to change your Windows 11/10 admin password or make other changes to your computer. To restore the utilman.exe file, do the following:
- Boot the device using the Windows 11/10 installation media again.
- In the Windows 11/10 Setup page, press Shift + F10 keyboard shortcut to open Command Prompt.
- Type
C:and hit Enter to move to the root folder of your Windows 11/10 installation: - Now, type the commands below and hit Enter (on each line) to replace the direct access to Command Prompt with the Utility Manager button on the sign-in screen:
del utilman.exe
ren utilman.exe.bak utilman.exe
- Next, type the command below and hit Enter to disable the inbuilt Administrator account:
net user Administrator /active:no
Finally, type the command below and hit Enter to restart your computer normally:
wpeutil reboot
You now have regained access to your device.
Variante 2 – PassFab 4WinKey
- Zunächst einmal musst du die Software PassFab 4WinKey herunterladen und installieren.
- Anschließend startest du die Software.
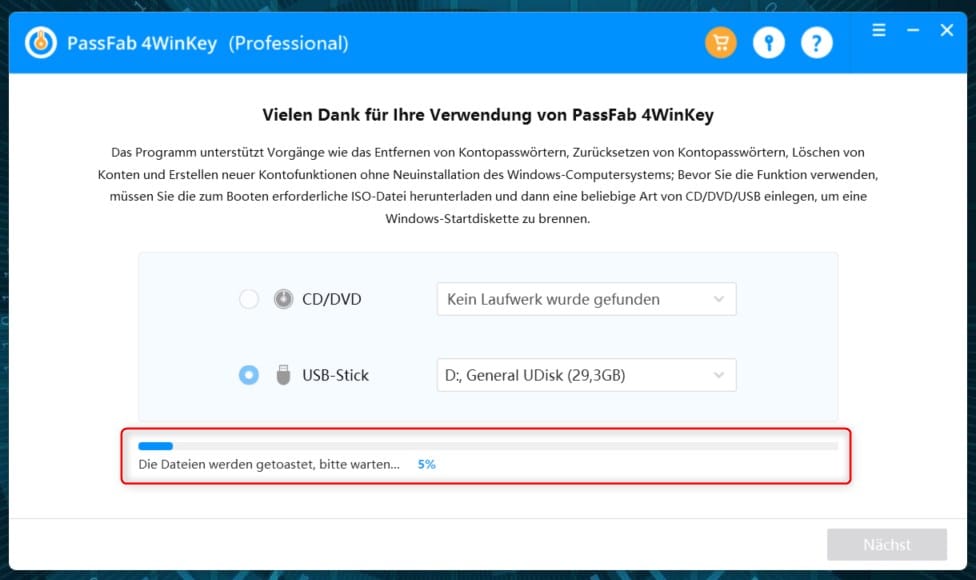
- Um loszulegen, musst du zu allererst ein Windows-Bootmedium erstellen. Entweder du entscheidest dich dafür, eine CD/DVD zu brennen oder aber du erstellst einen bootfähigen USB-Stick. Wir haben uns an dieser Stelle für Letzteres entschieden.
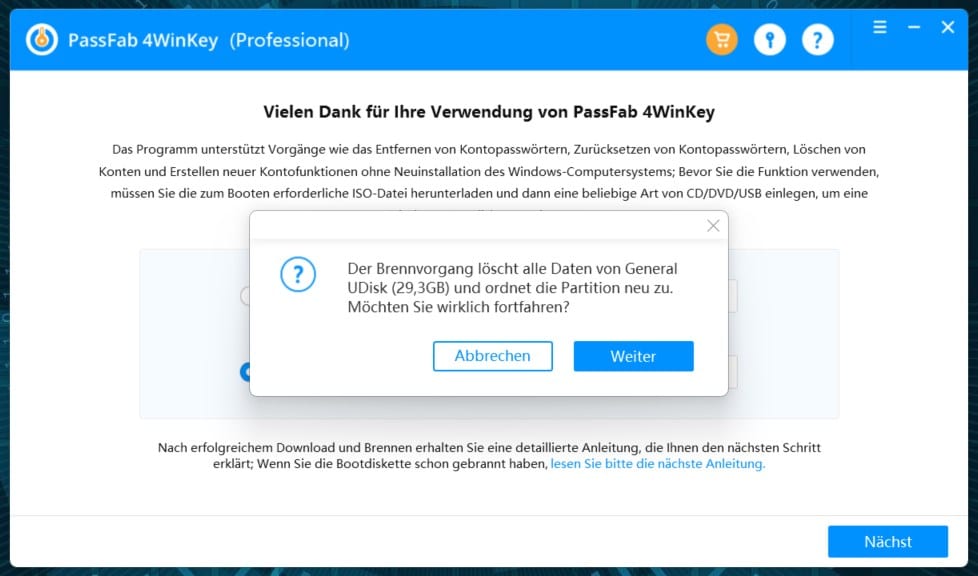
- Nachdem du auf Weiter geklickt hast, weist dich PassFab 4WinKey darauf hin, dass der USB-Stick in neue Partitionen eingeteilt wird und alle darauf befindlichen Daten gelöscht werden, wenn du auf Weiter Sei dir also im Vorfeld sicher, das sich auf dem USB-Stick keine wichtigen Daten befinden. Falls doch, klicke auf Abbrechen und sichere deine Daten zuerst an einem anderen Ort, bevor du fortfährst.
- Die erforderlichen ISO-Dateien werden nun heruntergeladen und auf das ausgewählte Medium transferiert. Dieser Vorgang kann je nach Medium ein paar Minuten in Anspruch nehmen.
- Sobald das Medium fertiggestellt wurde, erklärt die Software in einem kleinen Tutorial, wie du weiter vorgehen kannst und hält dabei ein paar Tipps bereit.
- Im nächsten Schritt musst du deinen Computer neu starten. Stelle dabei sicher, dass sich dein soeben erstelltes Medium im CD/DVD-Laufwerk befindet bzw. an einem USB-Anschluss steckt.
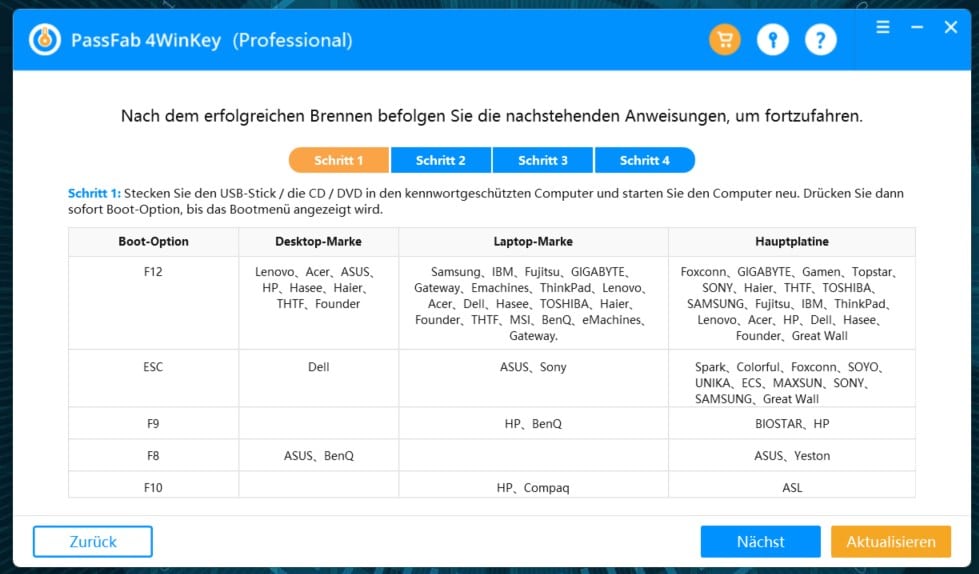
- Je nach Markle und Modell deines Computers bzw. Laptops musst du direkt beim Starten einen Hotkey auf deiner Tastatur drücken, um in die Boot-Optionen zu gelangen. Welcher das sein könnte, kannst du der nachfolgenden Tabelle entnehmen.
- Bist du im Boot-Menü angelangt, wähle mit den Pfeiltasten das Medium aus, das du erstellt hast und bestätige deinen Vorgang mit der Enter-Taste – wie im Screenshot zu sehen.
- In der Regel sollte PassFab 4WinKey nun starten und dir eine Übersicht der Funktionen anzeigen. Je nach Anwendungsfall kannst du nun entscheiden, was du machen möchtest. Keine Sorge, die Vorgänge sind selbsterklärend.
Variante 3 – Offline NT Password & Registry Editor
- Laden Sie sich das kostenlose Tool „Offline NT Password & Registry Editor“ herunter und öffnen Sie die ZIP-Datei.
- Extrahieren Sie die darin enthaltene ISO-Datei und erstellen einen USB-Stick mit z.B. UNetbootin.
- Schalten Sie Ihren Computer aus und starten Sie Ihn erneut. Damit vom USB-Stick gebootet wird, müssen Sie unter Umständen die Boot-Reihenfolge im BIOS ändern.
- Wurde das Tool vom USB-Stick gestartet, wählen Sie als erstes die Partition aus, auf der Windows 10 installiert ist. Bestätigen Sie anschließend den Pfad der Registry.
- Wählen Sie nun die Option „1 – Password reset with space as delimeter“ sowie anschließend „1 – Edit user data and passwords“.
- Entscheiden Sie sich für Ihren Benutzer unter Windows 10 und wählen Sie die Option „1 – Clear (blank) user password“.
- Mit der Eingabe von [!] und [Q] wird der Vorgang durchgeführt und bestätigt. Drücken Sie abschließend auf [Z] und starten Sie Windows ohne die CD oder den USB-Stick neu.
- Anschließend können Sie sich ohne Passwort anmelden. Aus Sicherheitsgründen sollten Sie aber nach dem Login ein neues Passwort vergeben.